Nginx UI 3: Manage Nginx from a Web Dashboard with Docker Compose
Nginx UI turns nginx config editing, certificates and logs into a web dashboard. We tested v3.0.6 with Docker Compose on a fresh Ubuntu 24.04 VM, including the setup wizard, a first site and the Docker socket check that can block the install.
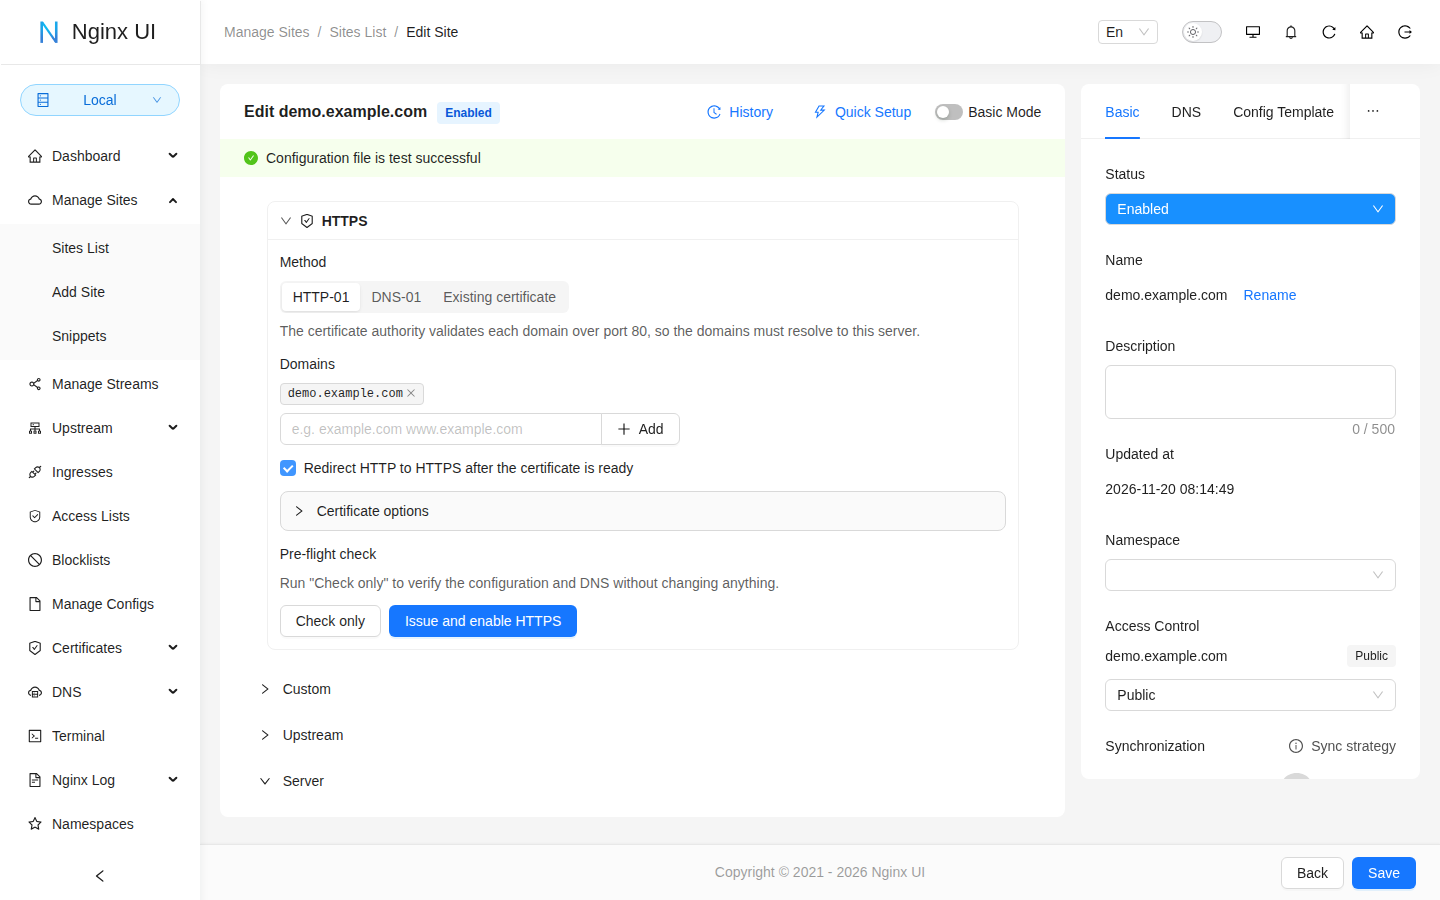
If you run nginx for a handful of sites, you probably know the routine: SSH in, edit a file in sites-available, symlink it, run nginx -t, reload, hope for the best. Nginx UI wraps that routine in a web interface. It edits your configs, tests them before reloading, handles Let's Encrypt certificates and shows logs and server stats in one place.
The project just shipped version 3, which turned up in Self-Host Weekly on 13 November. The release adds a plugin system, a lighter core and a rebuilt log analytics engine. This guide installs the current release (v3.0.6) with Docker Compose, walks through the first-run wizard and creates a first site. I ran every step on a fresh Ubuntu 24.04 VM, and I'll point out the one place where the official example and my setup differ.
What Nginx UI does
Nginx UI is a single Go binary with a Vue frontend, licensed under AGPL-3.0. At the time of writing the repository has roughly 11,800 stars on GitHub. According to the README, the feature list looks like this (I only tested the parts marked as tested further down):
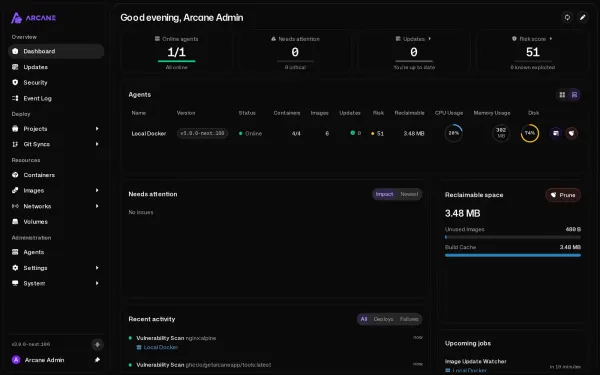
- Server dashboard with CPU, memory, load and disk figures.
- Site, stream and config editing in the browser, either with a block editor for nginx directives or a plain code editor. A config test runs before the reload.
- Automatic backups of changed configs with a history you can compare and restore.
- Let's Encrypt certificates with automatic renewal.
- Nginx log viewer with indexed search, a traffic dashboard and visitor maps.
- Cluster mode to mirror changes to several nodes, encrypted config export, a built-in web terminal, an optional AI assistant and MCP tools for agents.
- New in v3: signed plugins from a marketplace. So far only the DNS-01 certificate providers have moved into a plugin, and the Docker image already bundles it.
What you need
A Linux host with Docker and the Compose plugin, and a few hundred megabytes of free disk (the image is about 450 MB). The container ships its own nginx, so it does not touch an nginx installed on the host. That matters: if you want Nginx UI to manage the nginx that already runs on your host, the Docker image is the wrong tool. The project recommends its Linux install script for that case, and its docs have a separate page about managing a host nginx from Docker.
Install with Docker Compose
1. Create the project folder
The official example mounts two folders, one for the nginx config and one for Nginx UI's own data. I keep both next to the compose file, so a backup is just a copy of one directory.
mkdir -p ~/nginx-ui/data/nginx ~/nginx-ui/data/nginx-ui ~/nginx-ui/www
cd ~/nginx-ui
One rule from the docs: on first start the folder mounted to /etc/nginx has to be empty. The container fills it with a Debian-style nginx layout.
2. Write the compose file
Create docker-compose.yml with this content. I pinned the image to v3.0.6 instead of latest, so an unattended docker compose pull will not jump to a new major version.
services:
  nginx-ui:
    image: uozi/nginx-ui:v3.0.6
    container_name: nginx-ui
    restart: unless-stopped
    environment:
      - TZ=Europe/Berlin
      - NGINX_UI_IGNORE_DOCKER_SOCKET=true
    volumes:
      - ./data/nginx:/etc/nginx
      - ./data/nginx-ui:/etc/nginx-ui
      - ./www:/var/www
    ports:
      - "127.0.0.1:8080:80"
      - "127.0.0.1:8443:443"
A few notes on this file:
- Container port 80 serves the Nginx UI interface (it is proxied to the backend on port 9000 inside the container). Port 443 is there for sites you host through the bundled nginx later.
- Both ports are bound to
127.0.0.1, so nothing is reachable from outside until you put a reverse proxy in front. Change the bindings if you really want to reach it from another machine, but read the security section first. - The official example also mounts
/var/run/docker.sock. I left it out on purpose. Nginx UI uses the socket to control nginx in another container and to replace its own container during in-app upgrades. Mounting the Docker socket gives a container control over the whole Docker host, which is a lot to hand to a web panel. The price is theNGINX_UI_IGNORE_DOCKER_SOCKET=trueline, explained in the next step. /var/wwwis where I keep static files for sites, as in the official example. Drop it if you only proxy to other services.
3. Start it
docker compose up -dOn my test VM the image pull and start finished in well under half a minute, and the container reported healthy right after. Idle memory use according to docker stats was about 56 MiB. After I had clicked through the interface for a while it sat around 128 MiB.
4. Get the install secret
Nginx UI protects the first-run setup with a one-time secret, so nobody who finds the port open can claim the admin account. It lives in a hidden file in the data folder:
cat data/nginx-ui/.install_secretAccording to the docs, the secret is only valid during the first setup window and is removed afterwards.
5. Run the setup wizard
Open http://127.0.0.1:8080 in a browser. If the server is remote, use an SSH tunnel (ssh -L 8080:127.0.0.1:8080 user@your-server) rather than opening the port. You land on an install page that asks for the secret. After you paste it, the wizard runs a self check of the nginx setup inside the container: sites directory, config includes, PID and log paths, WebSocket handling and HTTPS.
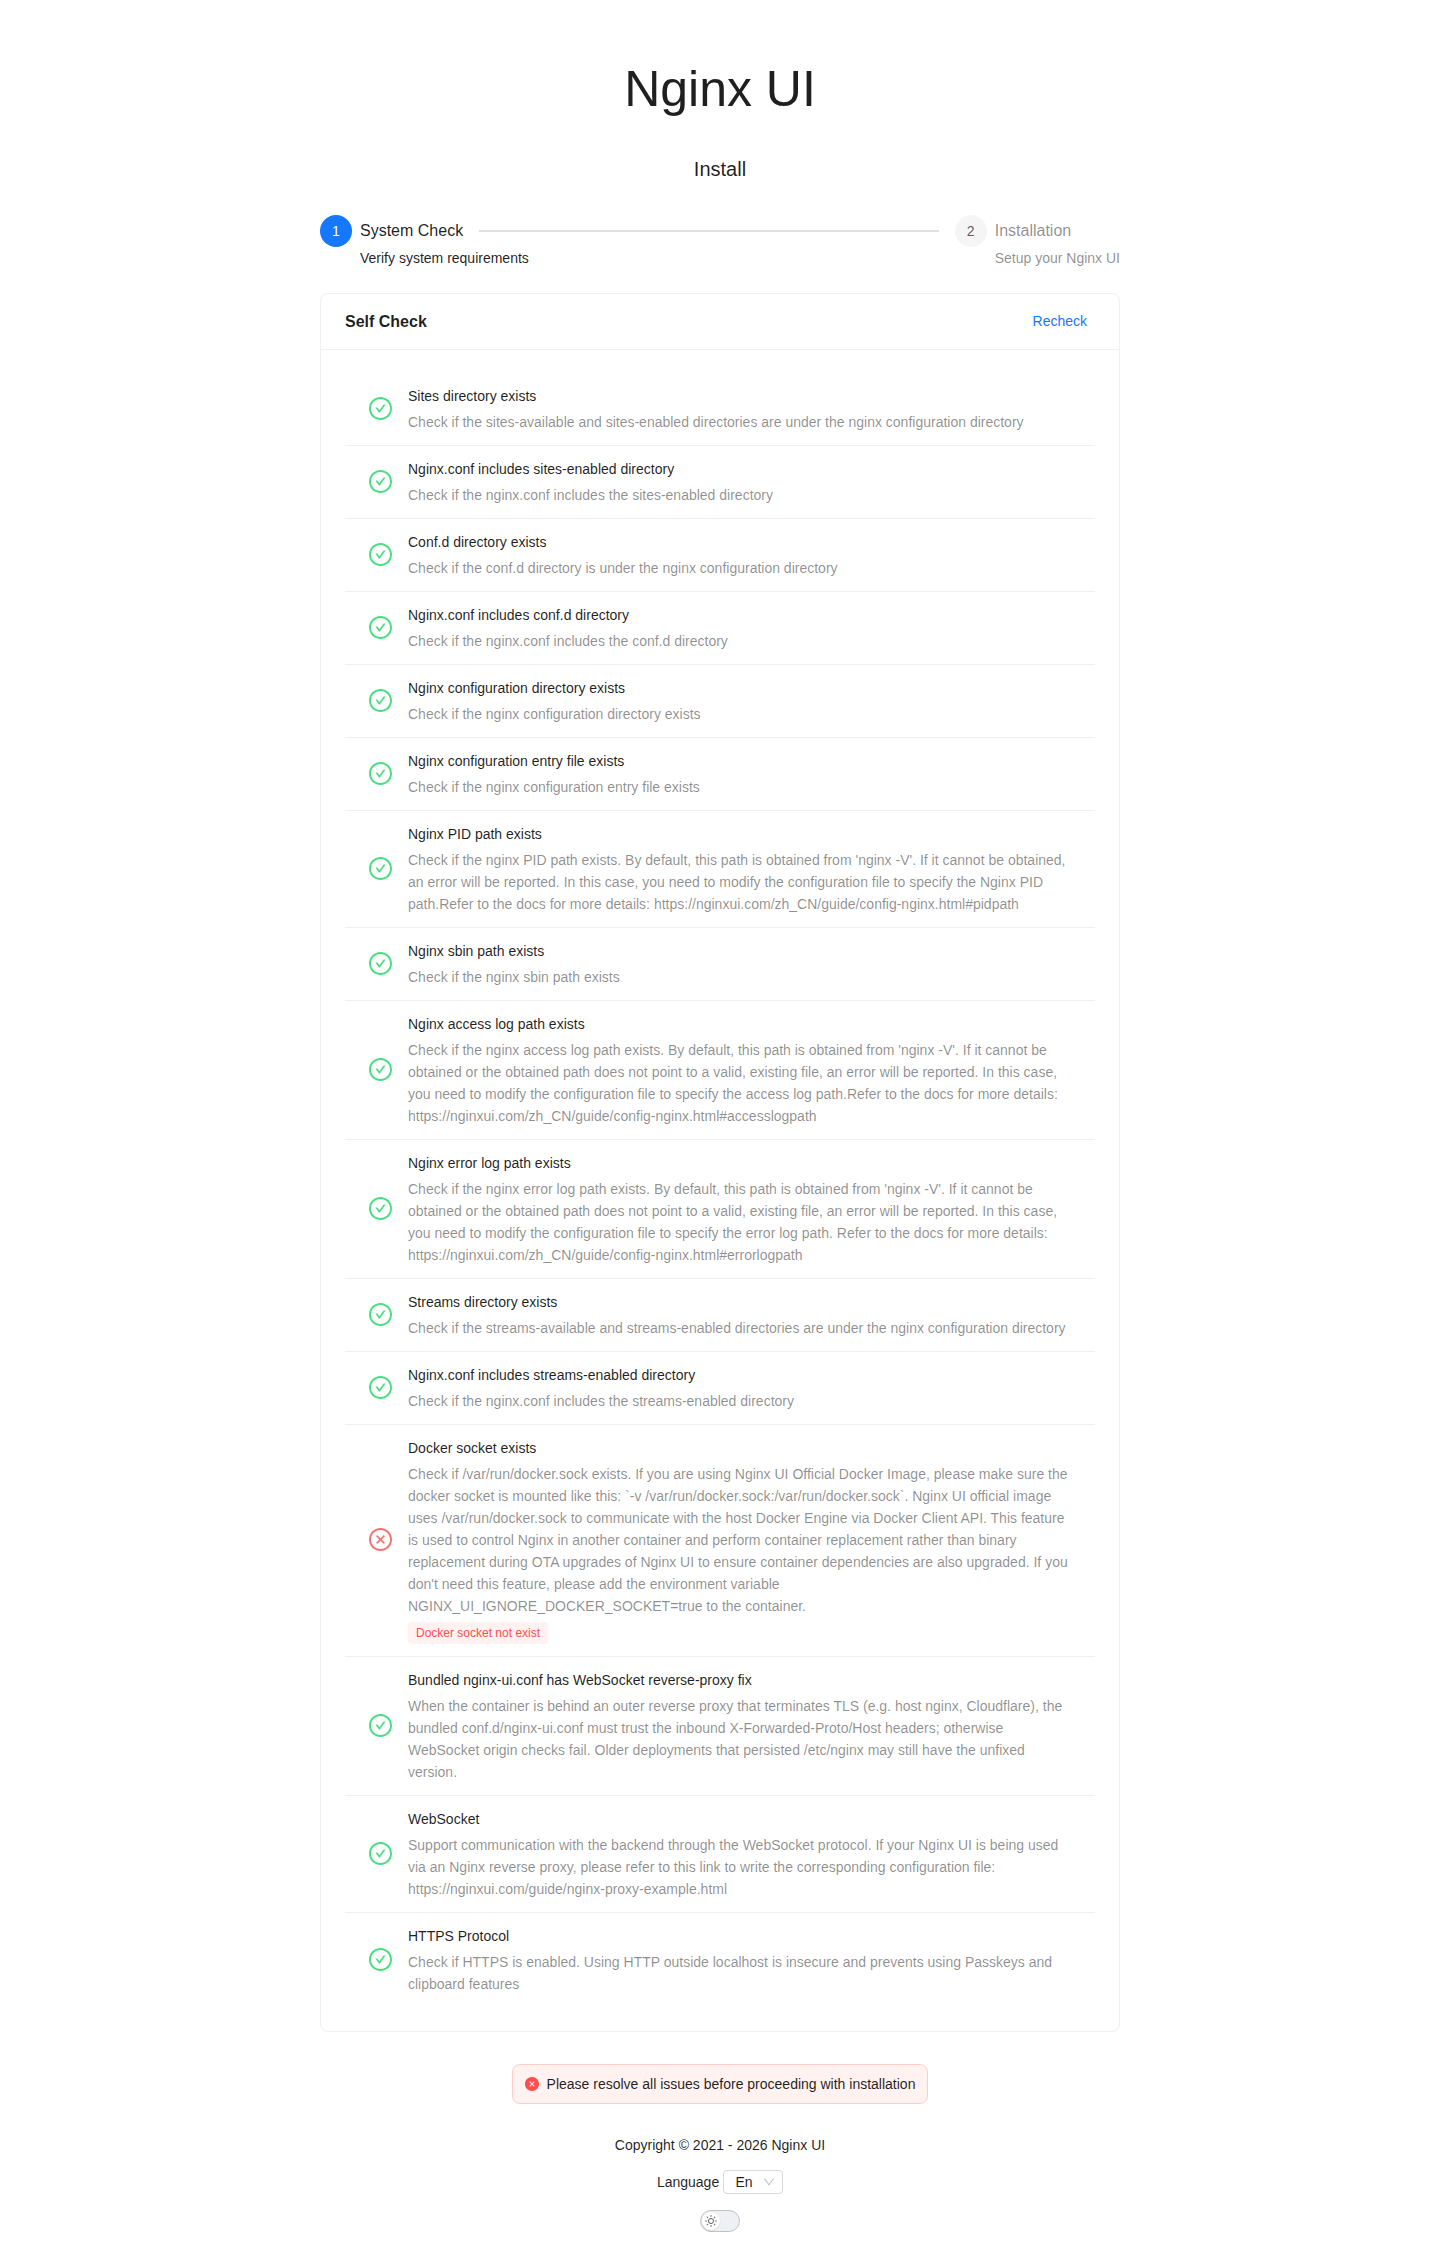
This is the stumbling block I ran into. On my first attempt I used the official example minus the socket mount and without the environment variable. Every check passed except "Docker socket exists", and the wizard refused to continue with the message that all issues must be resolved. The text next to the failed check names the fix, which is the NGINX_UI_IGNORE_DOCKER_SOCKET=true line already in the compose file above. I only found this variable in the wizard itself and in the binary, not in the environment variable reference in the docs, so treat it as an installer feature that could change between releases. With it set, the check passed and a Next button appeared.
On the next screen you enter an email address, a username and a password. Use your own values and a strong password. I used placeholder values on a throwaway test machine. After you submit, you are sent to the login page and can sign in with the new account.
Create your first site
Open Manage Sites and then Add Site. The Quick Setup tab walks through four steps (base information, DNS record, SSL, finished) and offers three site types: reverse proxy, static site and redirect. There is also an Advanced tab for writing the config by hand.
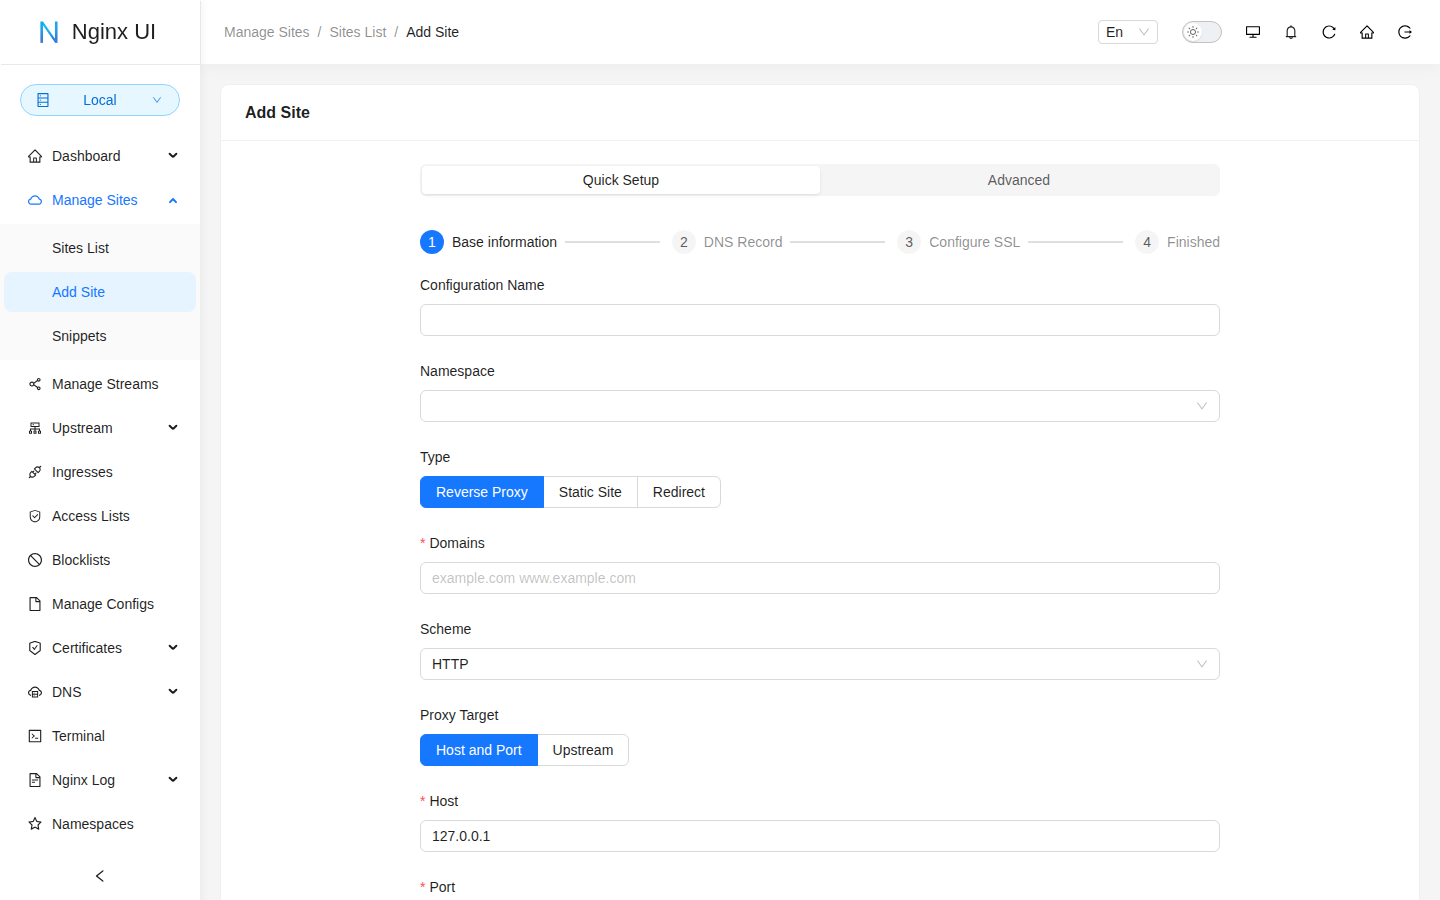
I tested the static site type. First put a test page into the folder that is mounted to /var/www:
mkdir -p www/demo
echo '<h1>Hello from Nginx UI</h1>' > www/demo/index.html
In the wizard I chose Static Site, entered demo.example.com as domain and /var/www/demo as web root, and clicked Next. The domain also becomes the config name. The second step (DNS record integration) is optional, and I did not use it.
Here is something that is easy to miss. After the first Next, the config file already exists in sites-available (it contained a plain server block with listen 80, server_name, root and index), but sites-enabled was still empty. The site is not live yet. Open it from the sites list, switch the Status dropdown on the right to Enabled and confirm the dialog. Nginx UI then creates the symlink in sites-enabled, tests the config and reloads nginx.
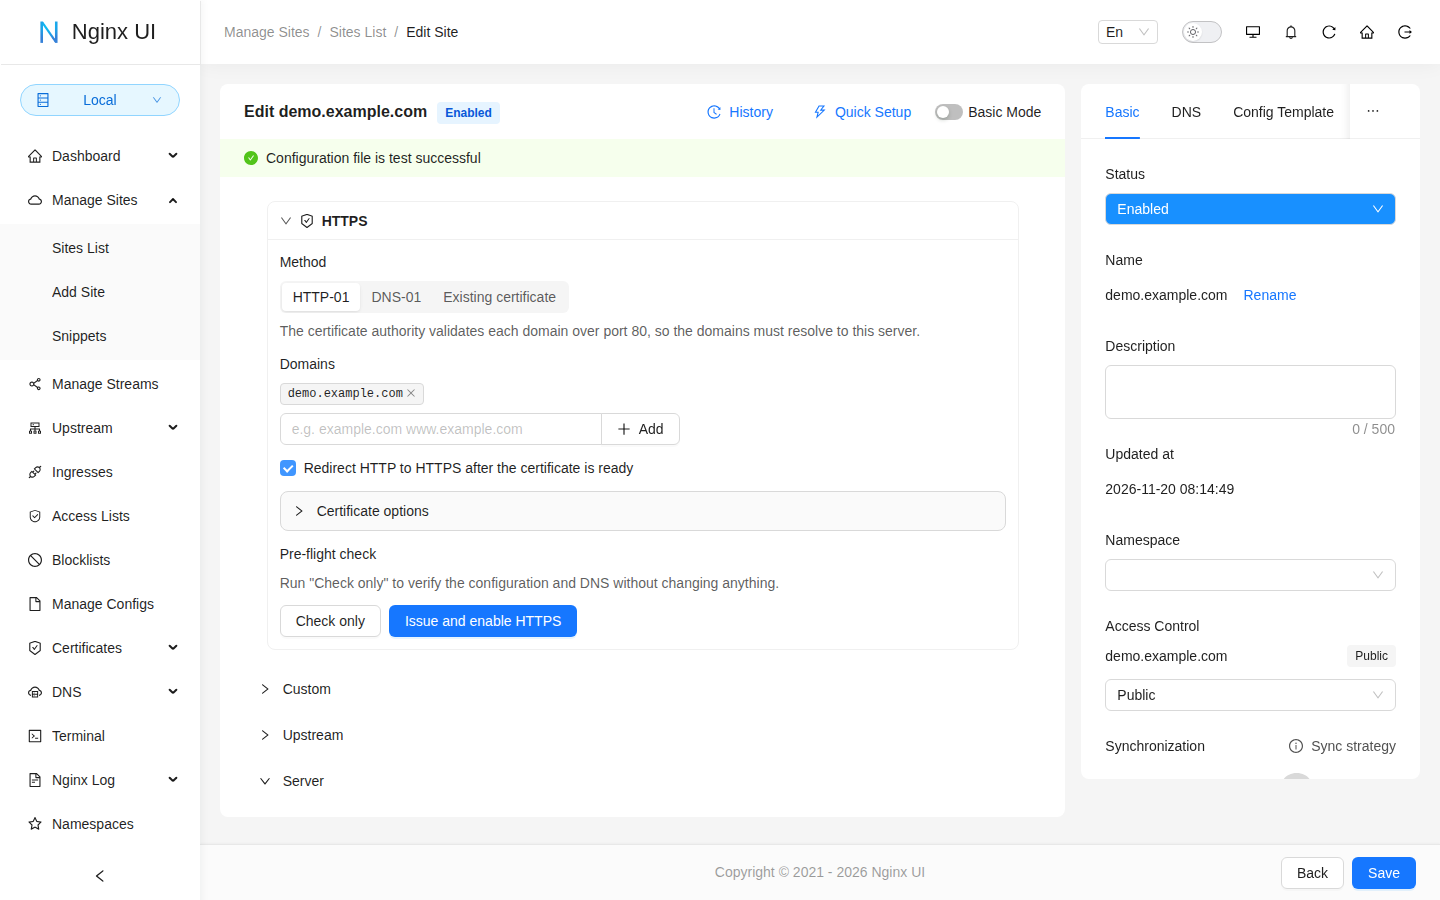
To confirm that nginx really serves the site, I requested it with a matching Host header from the machine itself:
curl -H 'Host: demo.example.com' http://127.0.0.1:8080/The answer was my test page. Before I enabled the site, the same request returned the Nginx UI interface itself, so the panel and your sites do share port 80 and nginx picks between them by host name.
What I did not test: the SSL step of the wizard ("Issue certificate and finish") and the certificate options in the HTTPS card. Both need a real domain that resolves to your server, and example.com obviously does not. The card also has a "Check only" button that is meant to verify the configuration and DNS without changing anything. I did not run it, so I cannot say what exactly it checks.
Tips
- Keep
data/nginx-uion a volume or bind mount. It holds the database, the app config and the installed plugins. The docs state that the bundled DNS-01 plugin is installed into/etc/nginx-ui/pluginson first start. - If you put an outer reverse proxy in front of the container (for example to add TLS), read the project's page on the Docker WebSocket fix. The wizard has a check for it, and WebSocket origin checks fail when the forwarded headers are not trusted.
- The wizard warns that plain HTTP outside localhost is insecure and blocks things like passkeys and the clipboard features. That is one more reason to reach the panel through HTTPS or a tunnel.
- Upgrading from an older image? Check the "Upgrading to v3" page in the docs first, since v3 moved the DNS providers into a plugin.
- Back up the whole
datafolder before upgrades. Changing the tag in the compose file and runningdocker compose pull && docker compose up -dis the whole upgrade, but I only tested a fresh install, not an upgrade.
Limits and security
This tool is an admin panel for your web server, so treat it like one.
- Do not expose it carelessly. Whoever gets into the panel can edit your nginx config, and the feature list includes a web terminal. Keep it on localhost or behind a VPN or an authenticated reverse proxy, use a strong password and look at the MFA options in the docs.
- Stay current. The v3.0.6 release notes say the Docker images were rebuilt on NGINX 1.31.9 to fix five vulnerabilities in NGINX itself (the notes call them NGINX2Root), and that read-only service tokens are now refused files that nginx directives read secrets from. I confirmed that the image I tested ships nginx 1.31.9. If you pinned an older tag, update. The release notes also mention that the riscv64 image still carries NGINX 1.31.8.
- The Docker image replaces, not manages, your host nginx. It runs its own nginx. Use the Linux install script if the goal is to manage an existing host installation.
- It expects a Debian-style config layout. The container provides it. On a host install with a different layout you may need to change
nginx.conf, as the docs describe. - The Docker socket trade-off. Without it, you lose the in-app container replacement for upgrades and control of nginx in other containers. In my test everything else I tried worked without it.
- Young release line. Version 3.0.0 came out on 6 November and there have been six patch releases in two weeks. That is a sign of active work, and also a reason to read release notes before updating.
How it compares
Nginx Proxy Manager is the obvious neighbour. It is built around one job, proxy hosts with certificates, and hides the nginx config behind forms. Nginx UI gives you more of the raw config, plus logs, backups, a terminal and cluster features, but it is also a bigger surface to secure. If you only want to point domains at containers, Nginx Proxy Manager is simpler.
Caddy has no web interface by default, but its config file is short and it gets certificates automatically. If you are happy to edit a text file and do not need a dashboard, it is hard to beat. Traefik discovers services from Docker labels, which suits setups where containers come and go. Nginx UI fits best when you already like nginx, you want to keep its config format and you want a safer way to edit it than a root shell.
Conclusion
Nginx UI does what it says: it makes day to day nginx work less error prone, because every change is tested before nginx reloads it and old versions of your configs are kept. The Docker setup is quick, the footprint is small, and the install secret is a sensible touch. The only real friction I hit was the Docker socket check in the wizard, and that has a one line fix if you would rather not mount the socket. Whether the panel earns a place in your stack depends on how you secure it, so keep it off the open internet.