Stalwart 1.0: Self-Host a Full Mail Server with Docker Compose
Stalwart 1.0 puts SMTP, IMAP, JMAP, CalDAV and a spam filter into one Rust container. We ran v1.0.1 with Docker Compose on a fresh VM, walked through the wizard and tell you where it gets tricky.
Running your own mail server has a reputation for being a weekend project that quietly turns into a permanent job. The usual recipe is Postfix, Dovecot, Rspamd, a webmail, a pile of config files and a lot of patience. Stalwart takes the opposite approach: one Rust binary that speaks SMTP, IMAP, POP3, JMAP, CalDAV, CardDAV and WebDAV, includes a spam filter, and is configured through a web interface.
The project just hit a milestone. Stalwart 1.0 was announced on 26 October 2026 as the first stable release, and 1.0.1 followed two days later. That is why it showed up in the self-hosting newsletters this week, and why it is a good moment to look at it. We set up v1.0.1 on a fresh Ubuntu 24.04 VM with Docker Compose, walked through the setup wizard, created a mailbox and delivered a test message. Below is what worked, what surprised us and where the limits are.
What Stalwart is
Stalwart is an all-in-one mail and collaboration server. Instead of stitching together an MTA, an IMAP server and a filter, you run a single process. Out of the box it covers:
- SMTP for receiving and sending, plus IMAP, POP3 and JMAP for clients
- CalDAV, CardDAV and WebDAV for calendars, contacts and files
- A built-in spam and phishing filter, DKIM, SPF and DMARC handling, and MTA-STS
- Automatic TLS certificates through ACME, with optional DNS management for supported DNS providers
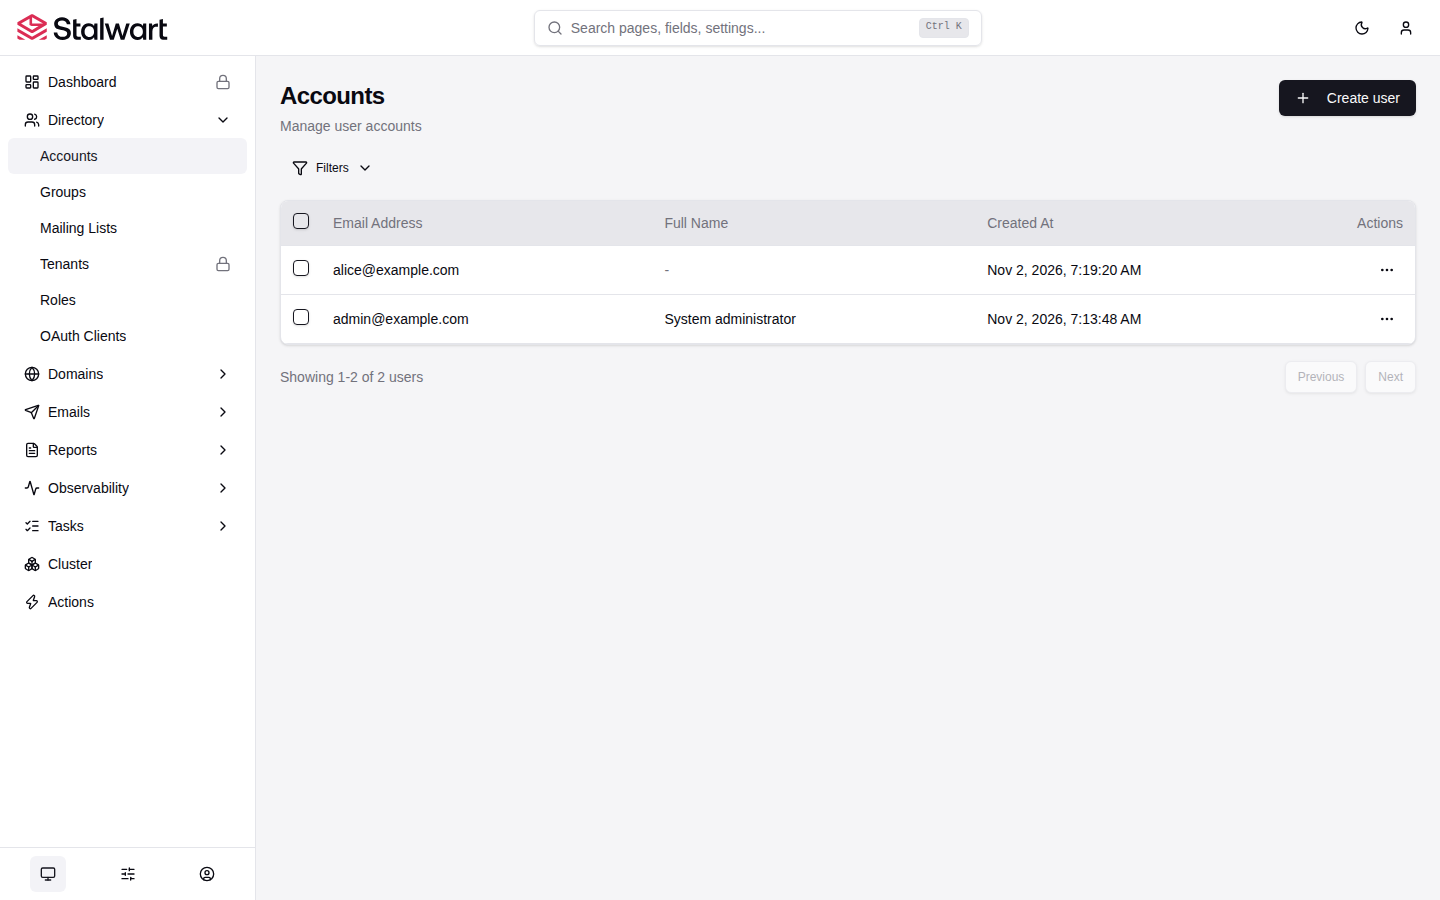
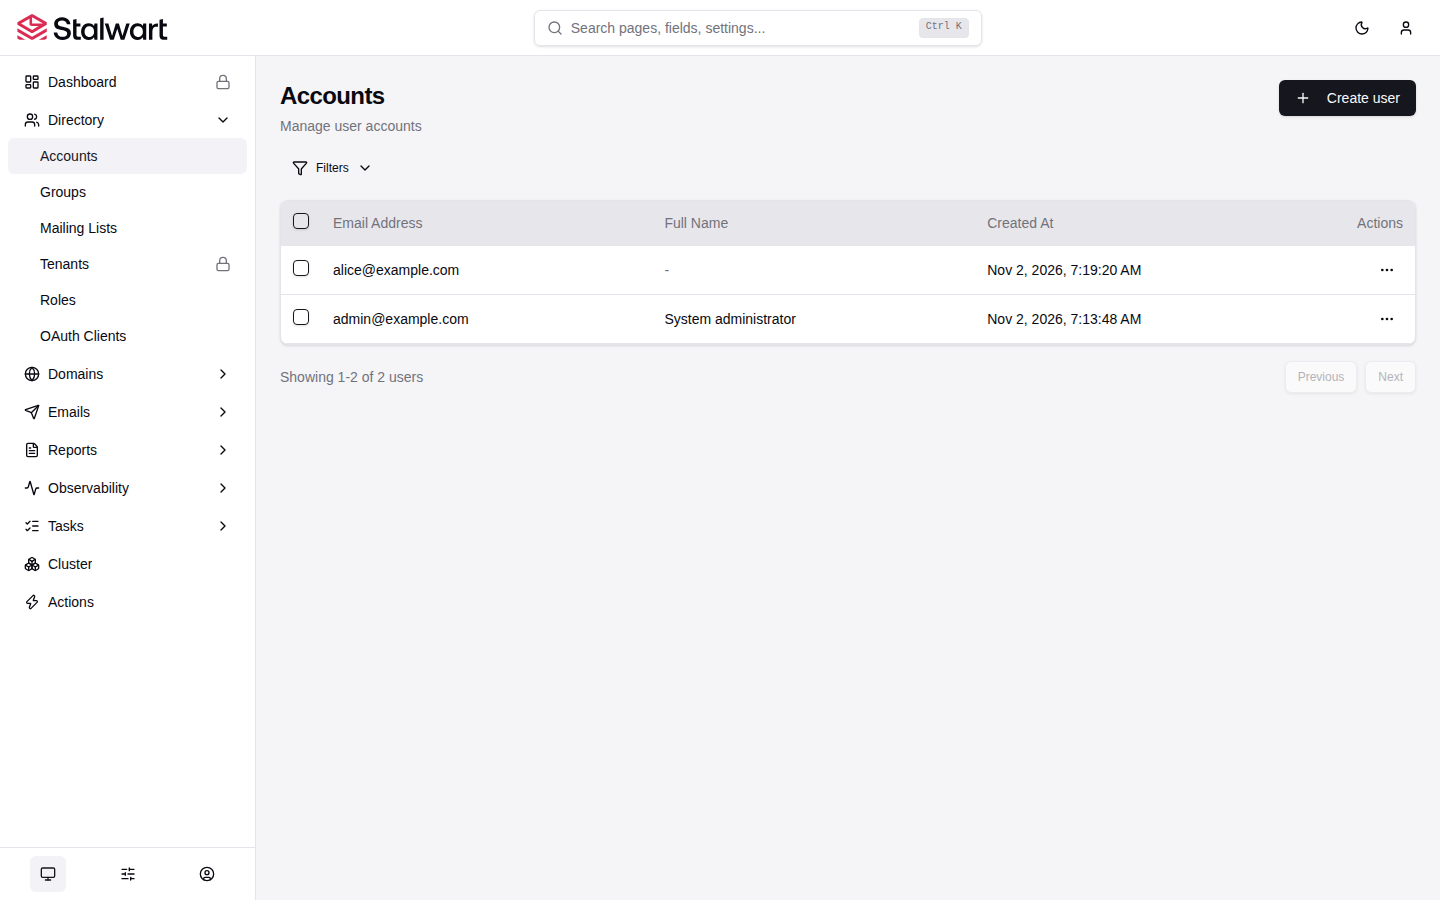
- A web administration interface (the WebUI) plus a separate self-service area for users
- Several storage backends. The default is RocksDB, an embedded database, so you do not need a separate database container for a single server.
Version 1.0 is mostly about speed and stability. The team rewrote parsers, the search engine and parts of the storage layer, and froze the database schema so that future upgrades should work in place. In the project's own benchmark against Postfix 3.11 and Dovecot 2.4 on identical Azure machines, Stalwart came out ahead in 35 of 38 headline comparisons. Those numbers come from the vendor, so treat them as a claim to be checked, but the scripts and raw results are published in a benchmarks repository, which is more than most projects offer.
License
The community edition is licensed under the AGPL-3.0. The project is dual licensed: a separate Enterprise license (the Stalwart Enterprise License v2) unlocks features aimed at larger organizations, such as multi-tenancy, SCIM provisioning, sharded storage and live telemetry. The README says about 85 percent of the features are free and open source. You will notice this in the interface: in our test, the Dashboard and Tenants entries in the sidebar carry a lock icon.
Before you start
A mail server is not like a dashboard you can park behind a reverse proxy and forget. According to the system requirements, you need a static public IP address, a hostname that resolves to it, port 25 open in both directions and control over the DNS zone of your mail domain. Check that your hosting provider actually allows traffic on port 25 before you invest an evening. The server also downloads the WebUI and spam filter rules from GitHub on its first start, so it needs outbound HTTPS.
On the test VM (2 vCPUs, 1.8 GB RAM) we deliberately skipped the public parts. No real domain, no public DNS, no inbound port 25. That is enough to check the install, the wizard and local mail flow, but it is not a full production test. We did not send mail to or receive mail from external providers, so we cannot say anything about deliverability.
Docker Compose setup, step by step
1. Create the compose file
Create a folder and put this docker-compose.yml in it. It follows the example in the official Docker guide, with the image pinned to v1.0.1 instead of the floating v1 tag. The wizard port is bound to localhost only, which is intentional.
mkdir -p ~/stalwart && cd ~/stalwart
nano docker-compose.yml
services:
stalwart:
image: stalwartlabs/stalwart:v1.0.1
container_name: stalwart
init: true
restart: unless-stopped
ports:
- "25:25"
- "465:465"
- "993:993"
- "995:995"
- "4190:4190"
- "443:443"
- "127.0.0.1:8080:8080"
volumes:
- stalwart-etc:/etc/stalwart
- stalwart-data:/var/lib/stalwart
volumes:
stalwart-etc:
stalwart-data:A few notes on this file. /etc/stalwart will hold the config.json that the wizard creates, and /var/lib/stalwart holds your data. Both must be persistent: if the server starts without a config.json, it goes back into setup mode. Port 8080 serves the setup wizard over plain HTTP without protection against password guessing, which is why the official guide publishes it on the loopback interface only. The other ports are SMTP (25), SMTPS submission (465), IMAPS (993), POP3S (995), ManageSieve (4190) and HTTPS (443). Ports 587, 143 and 110 are not published in the official example.
For our test we changed exactly one thing: every port was bound to 127.0.0.1 with a different host port, because the test VM is not meant to be reachable from the internet. Everything else is identical to the file above.
2. Start the container
docker compose up -d
docker compose ps
On our VM the image pulled and the container reported healthy in well under half a minute. Docker's health check asks the server for /healthz/live, first over HTTPS on port 443 and then over HTTP on 8080, so it also reports healthy while the server is still in setup mode.
3. Get the temporary admin password
On its first start without a configuration, Stalwart runs in bootstrap mode. It serves only the setup wizard and creates a temporary admin account with a random 16 character password, printed once to the container log:
docker logs stalwart 2>&1 | grep -A8 'bootstrap mode'Open http://127.0.0.1:8080/admin on the machine itself, or through an SSH tunnel (ssh -L 8080:127.0.0.1:8080 your-server), and sign in as admin. The login is a two step form: username first, then password. Every start in bootstrap mode generates a new password, so only the newest block in the log is valid.
4. Run the setup wizard
The wizard has five screens. Only two fields really need your attention.
Screen 1, server identity. Enter your server hostname (for example mail.example.com) and the default email domain (example.com). Both fields come pre-filled. On our VM the hostname field contained the container ID and the domain field said example.org, so do not click through without looking. Leave Automatically Obtain TLS Certificate and Generate Email Signing Keys switched on on a real server. In our test there was no public DNS for the name, so we switched the certificate option off to avoid pointless requests to Let's Encrypt.
Screen 2, storage. The defaults (RocksDB under /var/lib/stalwart) are fine for a single server. If you might want a cluster later, read the docs on choosing a database first, because changing the data store afterwards means a migration.
Screen 3, directory. Keep the internal directory.
Screen 4, logging. This one is easy to miss. The default log destination is a file, but a container has no log directory, so with the default you get no log at all. Change Log Destination to Console (the dropdown offers Log file, Console, Systemd Journal and two OpenTelemetry options). We left the ANSI colors switch at its default, so our docker logs output contained color codes. The official guide suggests turning that off if something other than a terminal reads the log.
Screen 5, DNS. Choose your DNS provider here if Stalwart supports it, and it will publish and rotate the records for you. Otherwise keep Manual DNS server management. With manual management the DKIM keys are not rotated automatically, and the certificate validation needs a few extra CNAME records and a reachable port 443, as the official guide explains.
Press Finish setup. The last screen shows a new administrator, admin@your-domain, with another random password. It is displayed only once and not written to the log, so store it in your password manager right away.
5. Restart
docker compose restart stalwartThe server reads its configuration only at startup, so until this restart it stays in bootstrap mode. On our VM the container was healthy again about eight seconds later. Right after that restart docker stats showed roughly 87 MiB of RAM; after signing in, creating an account and receiving a message it sat between 100 and 115 MiB. In bootstrap mode it was about 13 MiB. The image takes about 484 MB on disk.
6. Sign in to the WebUI
After the restart, sign-in works only over HTTPS on the server hostname you entered in the wizard: https://mail.example.com/admin. Port 8080 will not do it. The docs say sign-in there fails with Unknown client id. Our test VM has no DNS entry for the name, so we pointed the browser at it with a host mapping, which is a trick only needed because this is a lab. On a real server, create the A record first. If the certificate has not arrived yet, the server presents a self-signed one for localhost until it does. Wait and reload instead of accepting the warning.
If you run behind a reverse proxy or publish HTTPS on a port other than 443, read the docs page on reverse proxies before the restart. Otherwise sign-in fails with Client metadata documents are disabled, because the server only accepts the WebUI on its configured host and port.
7. Create a user and publish DNS
The administrator account is for administration only. Create a normal user under Directory, Accounts, Create user. The form has no password field at first. Under Authentication, Credentials, click Add item, and a password input appears (the default policy wants at least 8 characters). Choose the domain from the dropdown, give the account a name such as alice and save.
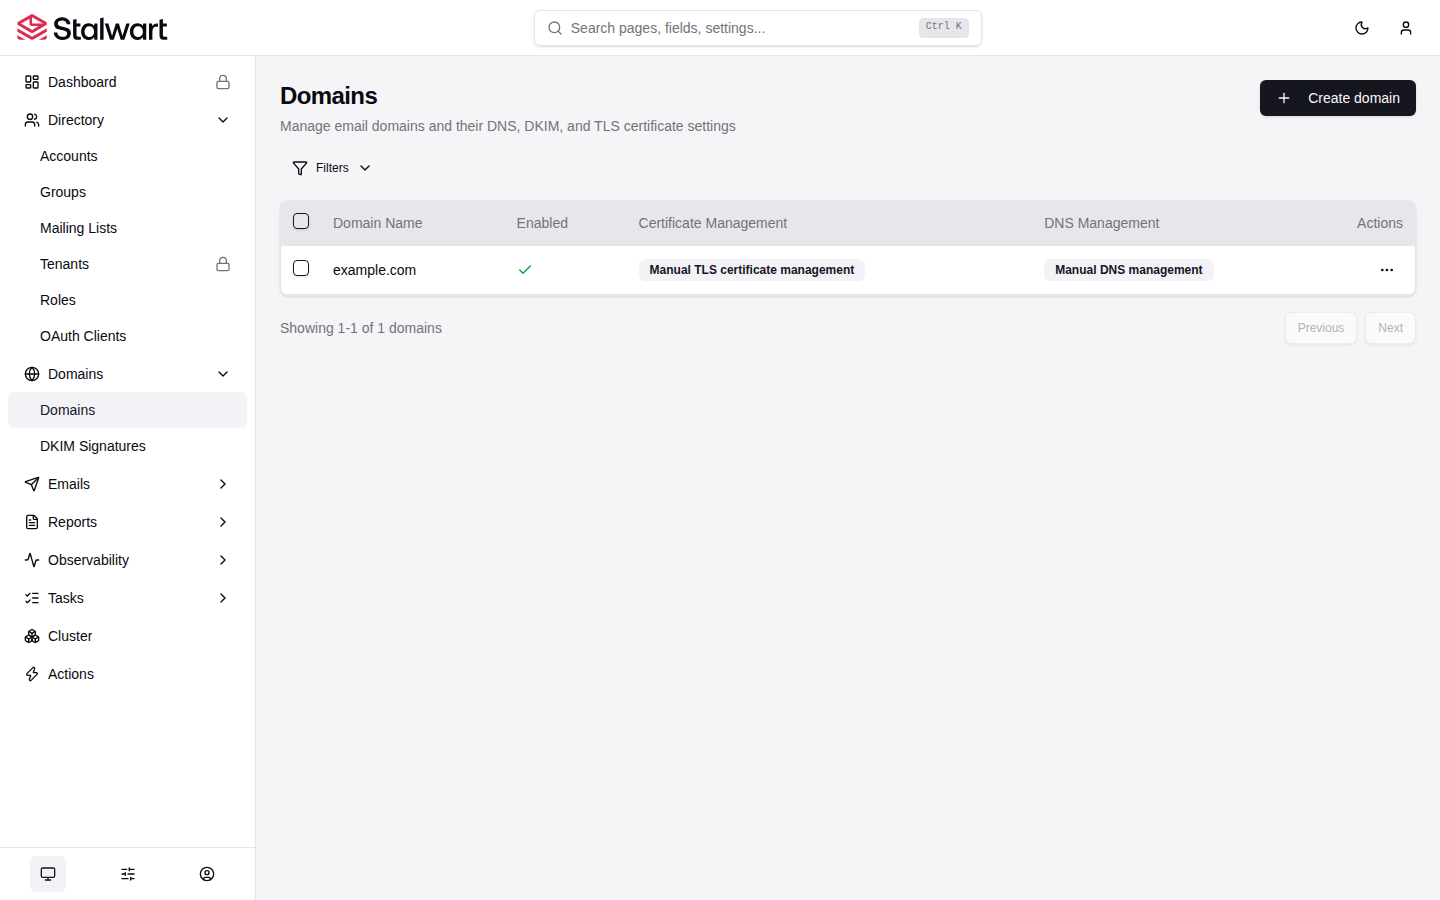
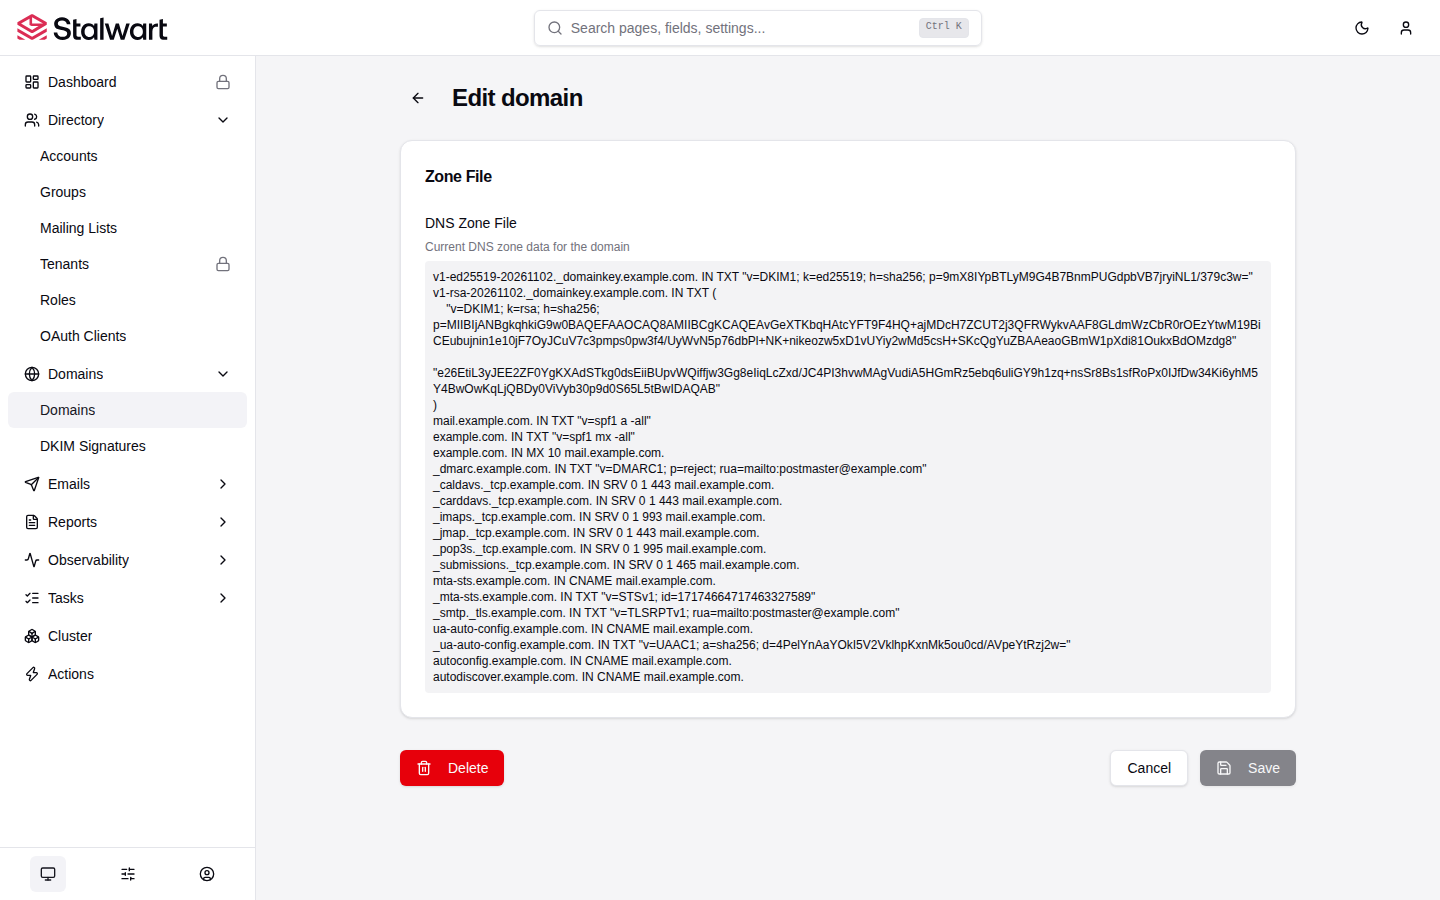
Next, get your DNS in order. In the domain list, open the row menu and choose View Zone File. You get a BIND style zone file with the MX, SPF, DKIM, DMARC, SRV, MTA-STS, TLS reporting and autoconfiguration records, ready to import or copy record by record. In our run the generated SPF record was v=spf1 mx -all and the DMARC policy was p=reject, so the defaults are strict. The zone file does not contain the A and AAAA records for the server hostname. Those you create yourself before you start.
8. Send a test message
With a real domain you would add the account to Thunderbird or another client (IMAP on 993, SMTP submission on 465, username is the full address) and mail yourself at another provider. In our offline lab we did the local equivalent: a small Python script delivered a message to port 25 as bob@example.net to alice@example.com, and then we logged in over IMAP.
The result is worth knowing about. The server accepted the message, but it did not land in the inbox. It was filed under Junk Mail with X-Spam-Status: Yes. The log showed failed SPF, DKIM and DMARC checks for the made up sender and a "possible spam" ingest line. That is a single case with a fake sender domain, so do not read it as a rule that failing authentication always means junk delivery rather than rejection. It does show that the spam filter is active from the first minute, and that a message you expect can end up in the junk folder, so check there when something seems to be missing.
Tips
Pin the image tag. The official guide recommends the floating v1 tag, which follows new 1.x releases on the next pull, and advises against latest. We pin v1.0.1 instead, so an update is something you decide on. The 1.0.1 changelog is a good example of why you might want to read before pulling: the telemetry exporters were replaced and the metric names changed, so existing dashboards and alerts need updating.
Before going to production, follow the checklist in the official security guide. Two points it makes explicitly: remove the plain HTTP listener on port 8080 unless a reverse proxy connects to it, and remove the STALWART_RECOVERY_ADMIN variable if you ever set it. In our test, port 8080 still answered after the restart, so this does not happen on its own. We kept it bound to localhost.
If you ever lose access because HTTPS does not work yet, there is a recovery mode: set STALWART_RECOVERY_MODE=1 and STALWART_RECOVERY_ADMIN=admin:change-me as environment variables, recreate the container, and sign in on port 8080. It runs no mail services and has no protection against password guessing, so keep that port off the internet and remove both variables once you are done. Environment changes need a recreated container (docker compose up -d after editing the file), not just a restart.
Back up both volumes. The configuration and all mail live in them.
Limits and security
The honest summary: a mail server is high responsibility software even when the installation is pleasant. Public IP, reverse DNS, port 25, DKIM, SPF, DMARC and reputation are problems that Stalwart helps with but cannot solve for you. Whether your mail reaches Gmail or Outlook is determined largely by your IP and domain reputation. We could not test any of that in our lab.
Some feature gaps are by design. Multi-tenancy, the dashboard with live telemetry and the AI spam classifier belong to the Enterprise edition. The 1.0 release also changed the database layout, and a 1.0 server will not open a store from earlier versions. The project provides a migration tool for v0.16.27 deployments and a proxy plus importer for older ones. If you are on an older version, read the upgrade guide first. Finally, if you use an external identity provider, the 1.0 release notes warn that Stalwart now enforces a newer OAuth profile for public clients, and not every provider supports it yet.
How it compares
The established self-hosted mail stacks, docker-mailserver and mailcow, run Postfix and Dovecot underneath, as does Mail-in-a-Box according to the Stalwart team. They are mature and have large communities, and a lot of tutorials exist for them. Their trade-off is that they are collections of components. Stalwart's pitch is a single process with one configuration model and groupware (calendars, contacts, files) built in. In return it is much younger, 1.0 is brand new, and there is less accumulated community knowledge to search when something goes wrong. If you want the tried and true route, pick one of those two. If you like the idea of fewer moving parts and can live with being an early adopter, Stalwart is worth a weekend on a spare VM before you decide.
Conclusion
The installation itself is the easiest part: one compose file, one restart, a five screen wizard. The container was healthy within seconds and used around 100 MiB of RAM for a single idle domain, which is light for a mail server. The pieces that demand care are the same as always, DNS, port 25 and reputation. We would try it on a spare VM and a spare domain first, import the generated zone file, and only then think about moving real mailboxes over.