Alexandrie 8.14: A Self-Hosted Markdown Wiki with Teams and Workspaces (Docker Compose Guide)
Alexandrie is an MIT licensed, self-hosted Markdown wiki with workspaces, permissions and Kanban boards. Here is how to run version 8.14.4 with Docker Compose, tested on a fresh Ubuntu 24.04 VM.
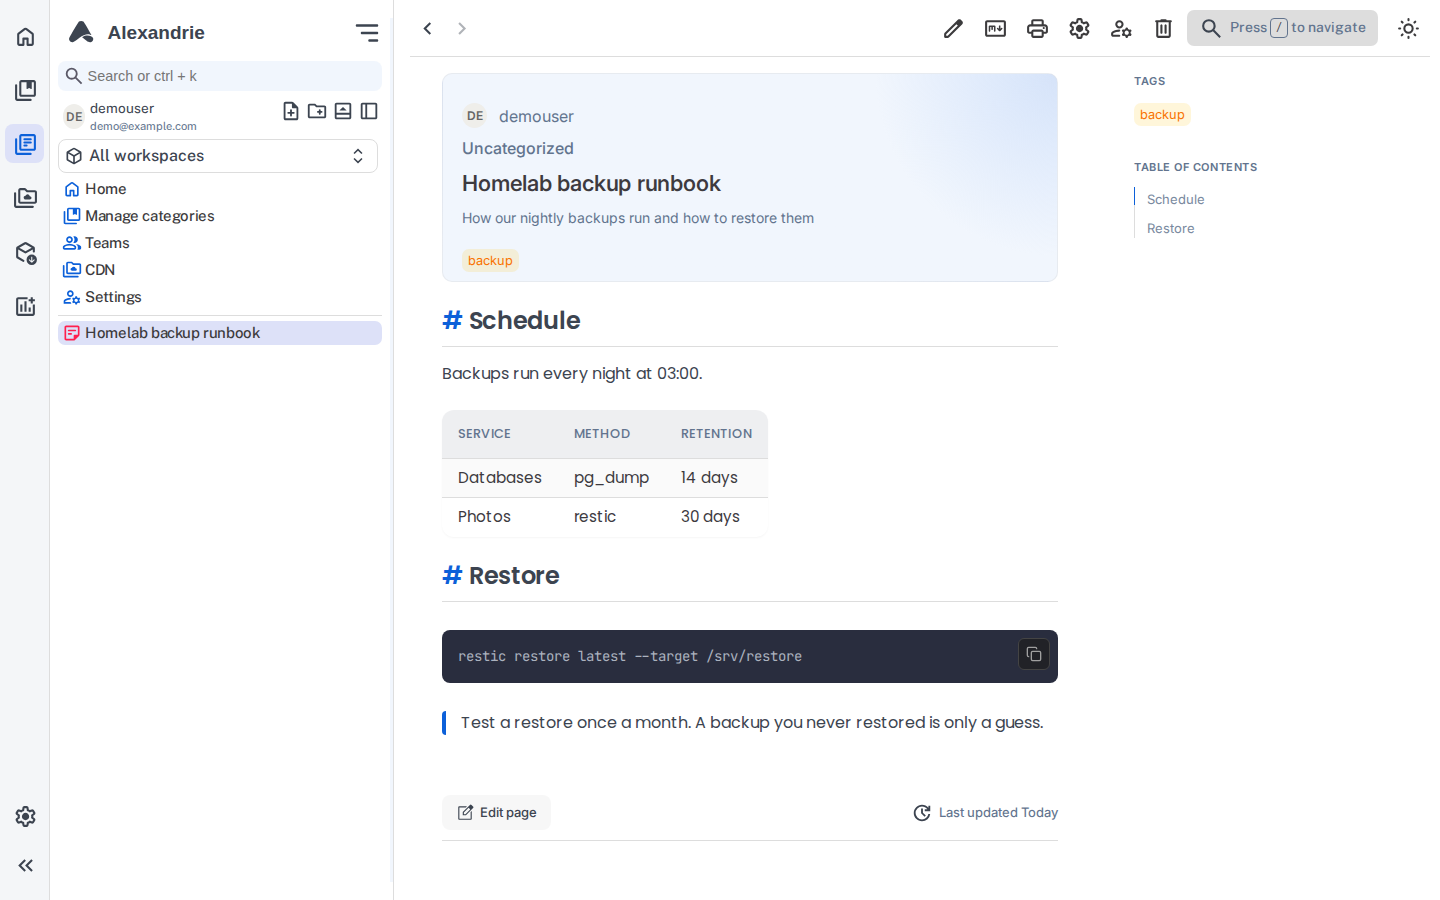
Alexandrie is a self-hosted wiki and knowledge base built around a Markdown editor. It showed up in this week's self-hosted roundups as a new entry with a lot of stars for its age, and it is under active development: the repository was pushed to on November 11, and version 8.14.4 came out on November 8. It is MIT licensed and positions itself as a mix of Notion, Obsidian and Confluence, minus the account on someone else's server.
I set it up on a fresh Ubuntu 24.04 VM with 2 vCPUs and 1.8 GB of RAM, created an account, wrote a small runbook in it and tore everything down again. Below is what worked, what tripped me up, and the Docker Compose file I actually used.
What Alexandrie does
The core is a CodeMirror based Markdown editor with a live rendered view, tables, code blocks with copy buttons, LaTeX, diagrams and a snippet manager. Documents live in categories inside workspaces, and workspaces belong to teams, with five permission levels from none up to owner. There is a Ctrl+K command palette, full text search, public share links, and Kanban boards per workspace. The project also advertises an offline capable PWA, OpenID Connect login, and ZIP based import and export. I only exercised signup, login, the editor and the rendered document view, so treat the rest as the project's own claims.
What is in the stack
This is not a single container. The official Compose file starts four services: MySQL 8.0 for metadata, RustFS as an S3 compatible object store for uploads and backups, a Go backend, and a Nuxt frontend. The frontend listens on 8200 and the API on 8201 inside the project's own network. RustFS serves media on port 9000.
One detail matters for the reverse proxy later: your browser talks to all three of the frontend, the API and the object store directly. That means you need three public URLs, not one.
Install with Docker Compose
1. Create a project folder
mkdir -p ~/alexandrie && cd ~/alexandrie2. Save the Compose file
This is based on the project's own docker-compose.yml at tag v8.14.4. I made three changes. All images are pinned instead of using latest, the ports are bound to 127.0.0.1 so a reverse proxy has to sit in front, and I removed the published MySQL port and moved every setting into the .env file, so there are no insecure fallback passwords hiding in the YAML. Note that the upstream file publishes MySQL on port 3307 and the other services on all interfaces, and it falls back to placeholder passwords when variables are unset.
services:
  mysql:
    image: mysql:8.0
    restart: unless-stopped
    environment:
      MYSQL_ROOT_PASSWORD: ${MYSQL_ROOT_PASSWORD}
      MYSQL_DATABASE: ${MYSQL_DATABASE}
      MYSQL_USER: ${MYSQL_USER}
      MYSQL_PASSWORD: ${MYSQL_PASSWORD}
    volumes:
      - mysql_data:/var/lib/mysql
    networks:
      - alexandrie-network
    healthcheck:
      test: ["CMD-SHELL", "mysql -u$${MYSQL_USER} -p$${MYSQL_PASSWORD} -e 'SELECT 1' $${MYSQL_DATABASE}"]
      timeout: 10s
      retries: 5
      interval: 30s
      start_period: 30s

  rustfs:
    image: rustfs/rustfs:1.0.0
    restart: unless-stopped
    environment:
      RUSTFS_ACCESS_KEY: ${RUSTFS_ACCESS_KEY}
      RUSTFS_SECRET_KEY: ${RUSTFS_SECRET_KEY}
      RUSTFS_CONSOLE_ENABLE: "false"
      RUSTFS_LOG_LEVEL: error
    ports:
      - "127.0.0.1:9000:9000"
    volumes:
      - rustfs_data:/data
      - rustfs_logs:/logs
    networks:
      - alexandrie-network
    healthcheck:
      test: ["CMD-SHELL", "nc -z localhost 9000 || exit 1"]
      interval: 30s
      timeout: 10s
      retries: 3
      start_period: 20s

  backend:
    image: ghcr.io/smaug6739/alexandrie-backend:v8.14.4
    restart: unless-stopped
    environment:
      BACKEND_PORT: 8201
      GIN_MODE: release
      JWT_SECRET: ${JWT_SECRET}
      COOKIE_DOMAIN: ${COOKIE_DOMAIN}
      FRONTEND_URL: ${FRONTEND_URL}
      ALLOW_UNSECURE: ${ALLOW_UNSECURE}
      CONFIG_DISABLE_SIGNUP: ${CONFIG_DISABLE_SIGNUP}
      DATABASE_HOST: mysql
      DATABASE_PORT: 3306
      DATABASE_NAME: ${MYSQL_DATABASE}
      DATABASE_USER: ${MYSQL_USER}
      DATABASE_PASSWORD: ${MYSQL_PASSWORD}
      MINIO_ENDPOINT: rustfs:9000
      MINIO_PUBLIC_URL: ${CDN_URL}
      MINIO_SECURE: "false"
      MINIO_ACCESSKEY: ${RUSTFS_ACCESS_KEY}
      MINIO_SECRETKEY: ${RUSTFS_SECRET_KEY}
      MINIO_BUCKET: alexandrie
    ports:
      - "127.0.0.1:8201:8201"
    extra_hosts:
      - "localhost:host-gateway"
    depends_on:
      mysql:
        condition: service_healthy
      rustfs:
        condition: service_healthy
    networks:
      - alexandrie-network

  frontend:
    image: ghcr.io/smaug6739/alexandrie-frontend:v8.14.4
    restart: unless-stopped
    environment:
      PORT: 8200
      NUXT_PUBLIC_CONFIG_DISABLE_SIGNUP_PAGE: ${CONFIG_DISABLE_SIGNUP}
      NUXT_PUBLIC_BASE_API: ${API_URL}
      NUXT_PUBLIC_BASE_CDN: ${CDN_URL}
      NUXT_PUBLIC_CDN_ENDPOINT: /alexandrie/
      NUXT_PUBLIC_BASE_URL: ${FRONTEND_URL}
    ports:
      - "127.0.0.1:8200:8200"
    depends_on:
      - backend
    networks:
      - alexandrie-network

networks:
  alexandrie-network:
    driver: bridge

volumes:
  mysql_data:
  rustfs_data:
  rustfs_logs:
3. Create the .env file
Here is a production style example with example.com as the domain. Adjust the three URLs to the hostnames you will put behind your reverse proxy.
# Public URLs, as your browser sees them
FRONTEND_URL=https://wiki.example.com
API_URL=https://api.example.com
CDN_URL=https://cdn.example.com

# Highest common domain of frontend and API, no protocol
COOKIE_DOMAIN=example.com
ALLOW_UNSECURE=false
CONFIG_DISABLE_SIGNUP=false

# Generate your own values, see below
JWT_SECRET=change-me
MYSQL_DATABASE=alexandrie
MYSQL_USER=alexandrie
MYSQL_PASSWORD=change-me
MYSQL_ROOT_PASSWORD=change-me
RUSTFS_ACCESS_KEY=change-me
RUSTFS_SECRET_KEY=change-me
Then replace the placeholders with random values:
sed -i "s/^JWT_SECRET=.*/JWT_SECRET=$(openssl rand -hex 32)/" .env
sed -i "s/^MYSQL_PASSWORD=.*/MYSQL_PASSWORD=$(openssl rand -hex 16)/" .env
sed -i "s/^MYSQL_ROOT_PASSWORD=.*/MYSQL_ROOT_PASSWORD=$(openssl rand -hex 16)/" .env
sed -i "s/^RUSTFS_ACCESS_KEY=.*/RUSTFS_ACCESS_KEY=$(openssl rand -hex 8)/" .env
sed -i "s/^RUSTFS_SECRET_KEY=.*/RUSTFS_SECRET_KEY=$(openssl rand -hex 16)/" .env
Keep the file private with chmod 600 .env. Changing JWT_SECRET later logs everyone out, according to the project's docs.
4. Start it
docker compose up -d
docker compose ps
On my test VM the first start, including image pulls, took around a minute until MySQL and RustFS reported healthy and the backend and frontend were up. The frontend answered on port 8200 with HTTP 200 right after.
Reverse proxy and cookies
Put your proxy in front with three hostnames, one each for ports 8200, 8201 and 9000, and terminate TLS there. With the example above that would be wiki.example.com, api.example.com and cdn.example.com. The COOKIE_DOMAIN value is the thing that bites people: it has to be the highest domain that frontend and API share, written without protocol. The project's setup guide warns that a wrong value makes login look successful and then log you out immediately.
A caveat on testing: my run used plain HTTP on localhost with ALLOW_UNSECURE=true, not a real proxy with HTTPS. The production values above come from the project's documentation, not from my own test.
First login
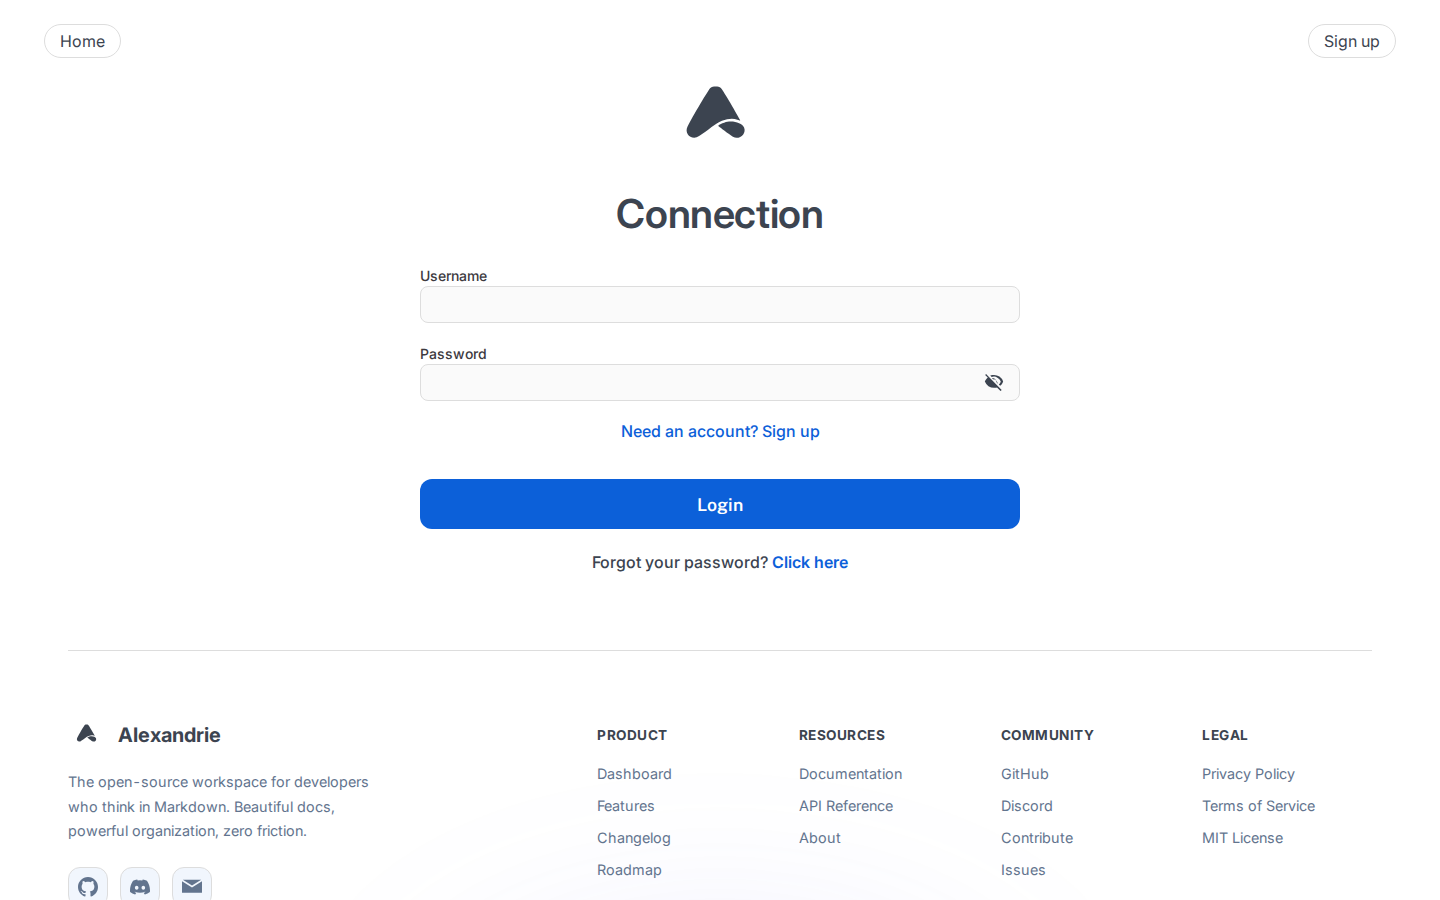
There is no default account. Open the frontend, press Sign up and create one. Two things I ran into. The username must be at least five characters, and the form tells you so only after you submit. And after signing up you are sent back to the login page rather than being logged in, so you log in once more and land on the dashboard.
If you only want invited people on your instance, set CONFIG_DISABLE_SIGNUP=true after creating your own account. The docs say this switches signup off in both frontend and backend.
In my test I opened the app as localhost throughout, matching the URLs in the .env file. Since the frontend, the API and the cookie domain are all configured by hostname, keep the address you type into the browser consistent with those values.
Writing a document
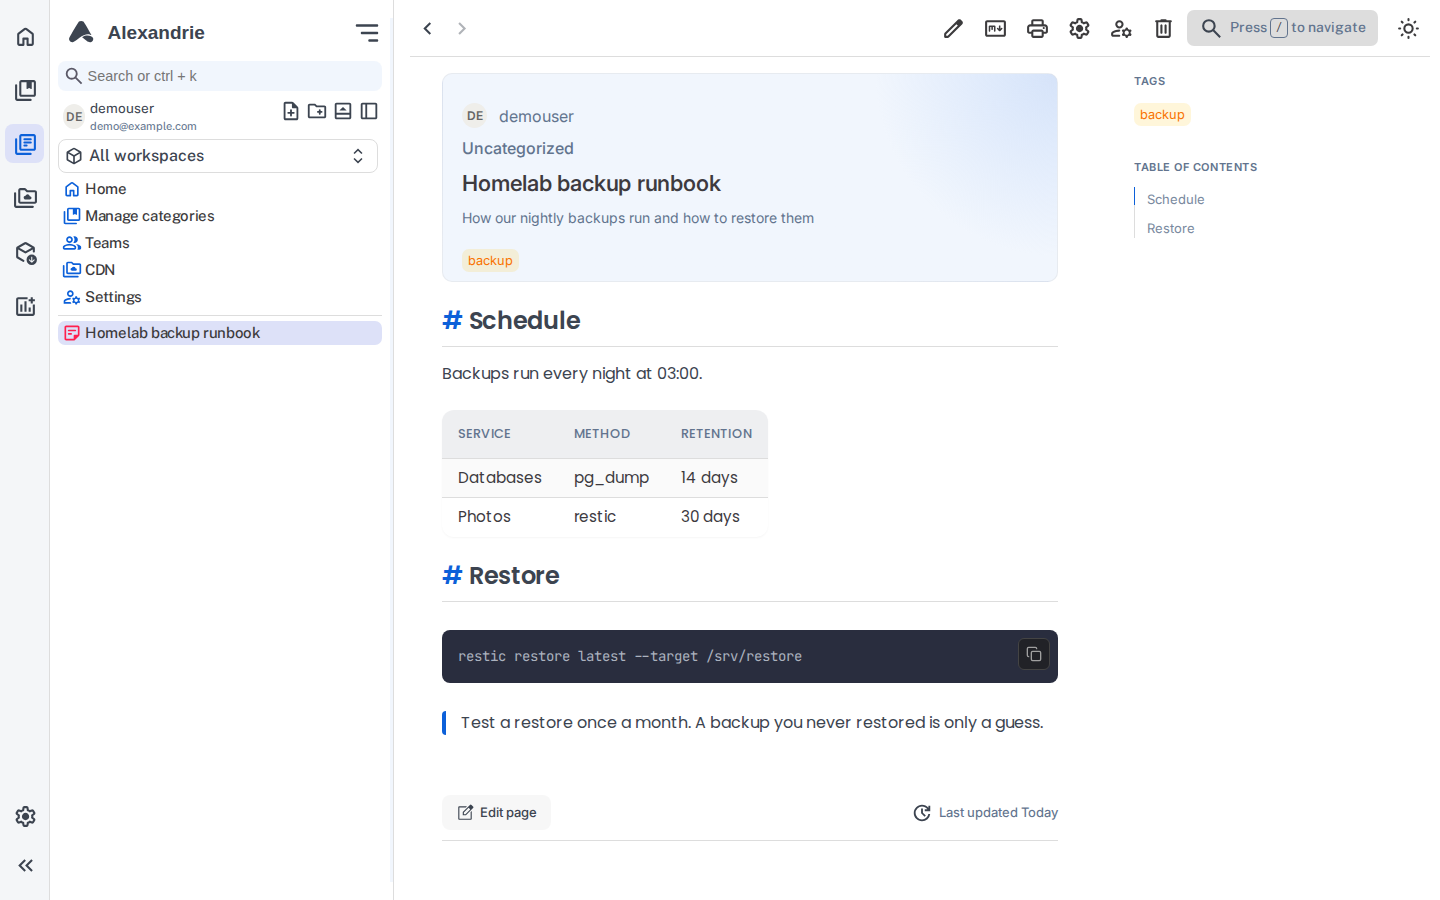
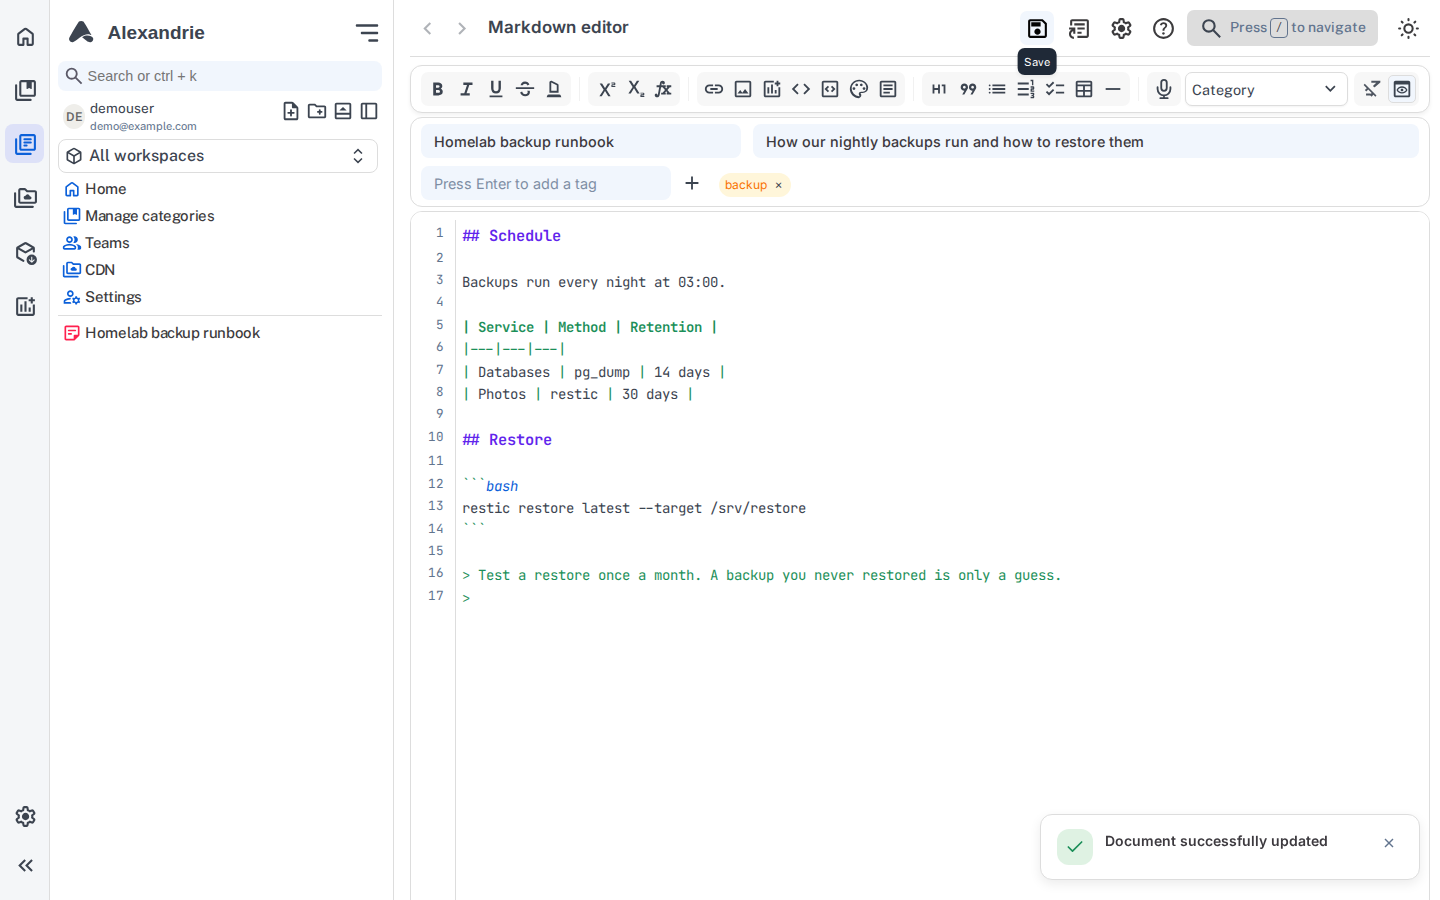
The New document button opens the editor: title, description, tags and a category picker on top, Markdown below, with a toolbar for formatting, tables, code and diagrams. I wrote a short backup runbook with a table, a code block and a quote, saved it, and the rendered page showed a table of contents on the right and a copy button on the code block.
One quirk: when I typed a task list through an automated keyboard, the editor's auto continuation of list items doubled the checkbox markers. That is how automated typing interacts with the editor, so I would not blame the app, but it is a reminder to check task lists after pasting.
Resource usage
These are numbers from docker stats on the test VM. Right after startup the four containers used roughly 120 MiB (frontend), 28 MiB (backend), 450 MiB (MySQL) and 143 MiB (RustFS). A few minutes later, after I had signed up and used the editor, they sat at about 93, 20, 136 and 42 MiB. Treat it as a rough guide for a single idle user, not a benchmark. The pulled images were about 1.1 GB for MySQL, 400 MB for RustFS, 350 MB for the frontend and 66 MB for the backend, so plan for a couple of gigabytes of disk before any data.
Tips
Back up the three Docker volumes (mysql_data, rustfs_data and rustfs_logs), or at least MySQL and RustFS data, since documents are in the database and uploads in object storage. The backend also creates an alexandrie-backups bucket in RustFS, but its lifecycle policy deletes objects after 24 hours according to the startup log, so treat that as a staging area for exports, not as a backup strategy. Keep the RustFS console switched off, as in the Compose file above, unless you really need it.
If you want single sign on, the project supports OIDC providers. I did not test it, and the startup log of my instance said no providers were configured, so check the project's setup guide for the variables before relying on it.
Limits and security
Alexandrie is young and moves fast. Version numbers went from 8.14.1 to 8.14.4 within about two months, which is good for fixes and bad if you like a quiet upgrade path, so read the release notes before updating. It needs four containers and a database server, which is heavy compared with single binary note apps. Three public hostnames add proxy work. I did not review the code. If you expose it to the internet, turn off signup, use HTTPS with ALLOW_UNSECURE=false, and keep MySQL unpublished as in the file above.
How it compares
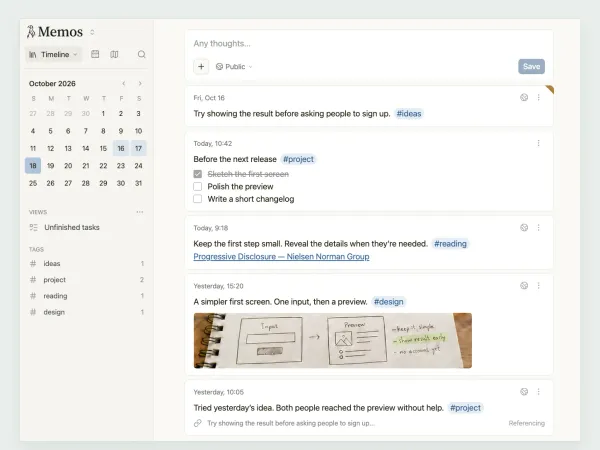
If you want a book and page structure for a team and a classic admin experience, BookStack is the simpler and more established choice. Wiki.js 3 is the other familiar wiki option. For quick personal notes without folders, Memos is far lighter. Alexandrie sits in between: a Markdown first wiki with workspaces, permissions and Kanban boards, at the cost of a bigger stack.
Verdict
For a small team or a homelab that wants a Markdown wiki with proper permissions, Alexandrie is worth a look. The install worked on a small VM without surprises once the URLs were consistent, and the editor feels polished. I would pin the version, put it behind HTTPS, and wait a few releases before trusting it with anything critical.